How To Make a Sand Candle
Sand Candles are so easy to make! Repurpose and reuse what you already have around the house. All of the candle making supplies are at your fingertips!
You won’t need tapered candle molds or spend time looking for candles on sale when you can simply make your own personalized candles!
3 Easy Steps to Make a Sand Candle
Step 1
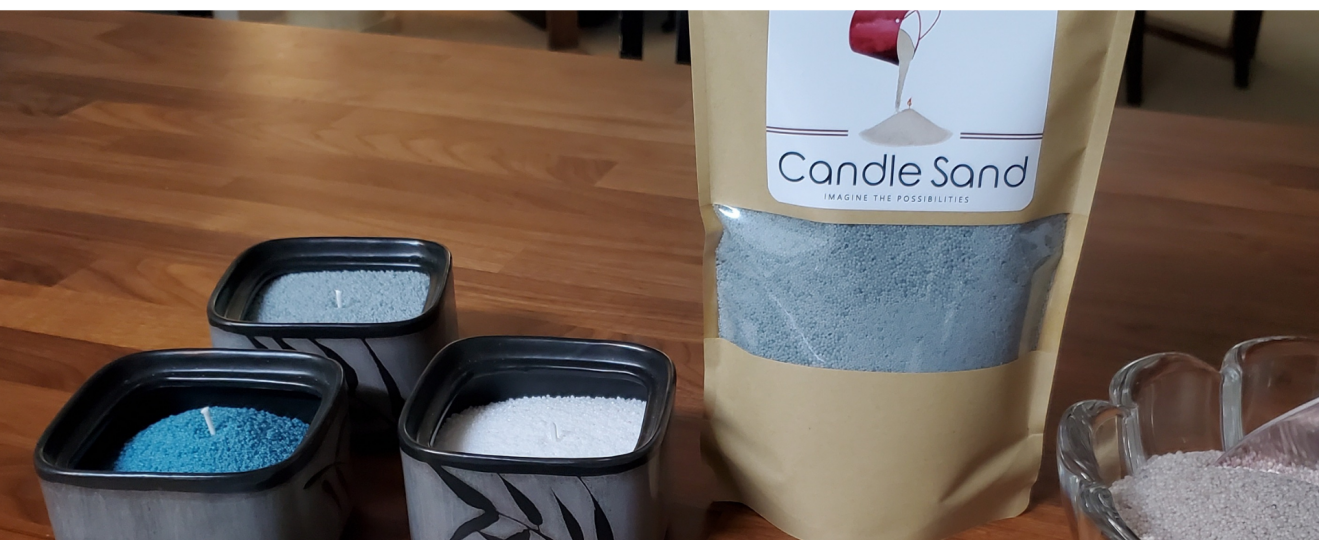
Pour Candle Sand
Choose a heat-resistant surface or container. Pour the desired amount of Candle Sand into or on top of a heat-resistant surface.
Step 2
Inserting The Wick
2, 8″ wicks are included with every bag. Cut a wick piece and insert into the Candle Sand. Position the wick piece so that ¼ inch sticks out of the sand.
Step 3
Light The Wick
A 2-inch wick will burn for about 3 hours, the candle will go out on its own. The longer the wick, the longer the burn.
Reusable Sand
Premium Quality Sand Is Reusable
Let the top layer layer of the wax COMPLETELY dry and then simply lift the thin layer of wax and discard. The remaining sand may be reused in another amazing creation!
CHOOSING THE CONTAINER
Repurpose and reuse what you already have around the house! No need to buy jars or candle holders. Look around for a cup, bowl, planter vase...
A container with at least a 2" diameter yields better results.
CUT THE WICK
Cut the wick to the desired length. Keep in mind that the wicks length and the size of the container, determines the burning time of the candle.
A wick piece of about 2 inches gives a great result.
Position the wick piece so that about ¼ inch sticks out of the Candle Sand.
Please remember that this is a candle with an open flame.
RESTART THE CANDLE
A 2-inch wick will burn for about 3 hours (depending on the diameter of the container). The candle will go out on its own and once it is out, make sure the top layer of the wax is COMPLETELY dry. Then simply lift the thin top layer of candle wax and discard!
The remaining sand can be reused just by placing another wick piece!